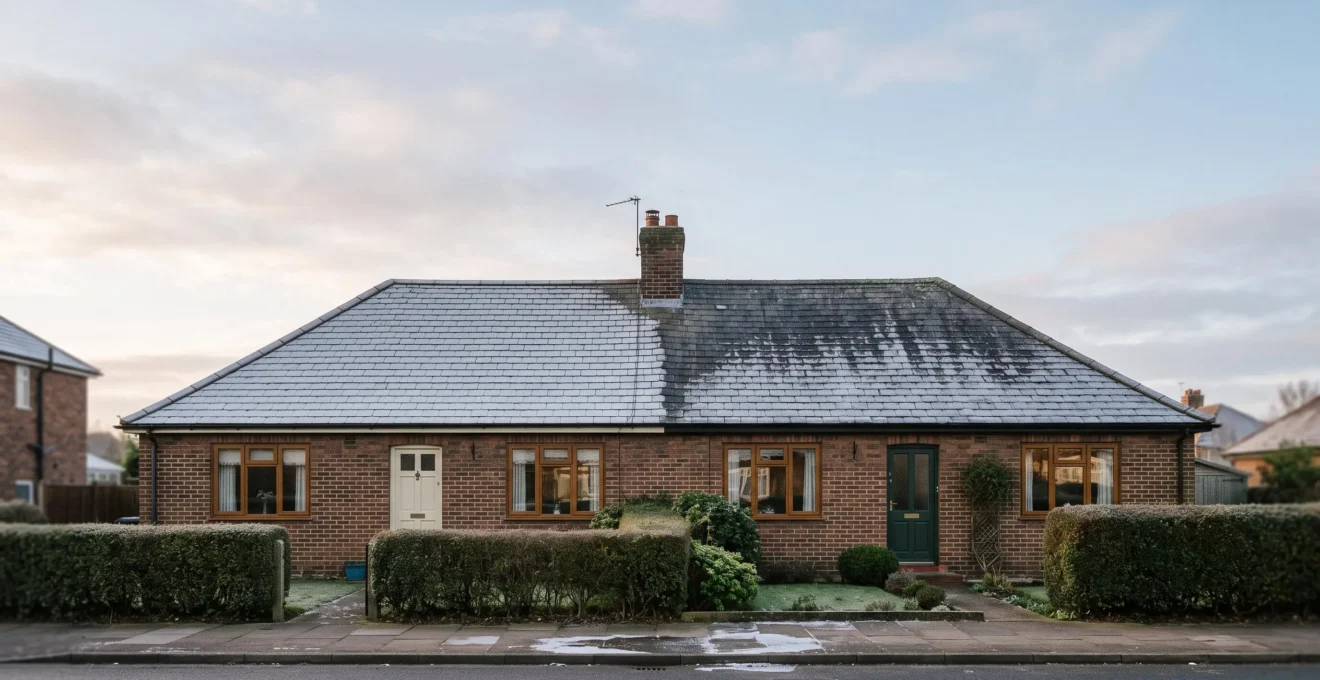
Achieving an EPC B rating on a sub-£6,000 budget is not about installing everything, but about strategic sequencing and targeting a building’s specific thermal weak points.
- Focus first on high-impact, low-cost measures like loft insulation, which offer the fastest return on investment.
- Address insulation and ventilation as a single, interconnected system to prevent damp and mould issues.
- Prioritise upgrades based on their contribution to SAP points to maximise your budget’s impact on the final EPC rating.
Recommendation: Begin with a ‘fabric-first’ audit of your home, identifying the easiest and most significant areas of heat loss before committing funds to larger projects like wall insulation.
For UK homeowners grappling with high energy bills and the increasing pressure of Minimum Energy Efficiency Standards (MEES), the goal of reaching an Energy Performance Certificate (EPC) rating of ‘B’ can seem daunting and expensive. The common approach is often a scattered list of potential upgrades, from solar panels to brand-new windows, which quickly exceeds a modest budget. Many guides suggest that significant improvements, particularly for older properties, require tens of thousands of pounds, leaving many feeling that a ‘B’ rating is out of reach.
However, the key to a cost-effective upgrade lies not in a shopping list of installations, but in a strategic, fabric-first approach. The reality is that achieving an EPC B rating for under £6,000 is entirely feasible, but it demands a shift in perspective. Instead of simply adding layers, the focus must be on understanding your property as a complete building system. This means identifying and rectifying the most significant thermal weak points first, ensuring that insulation and ventilation work in harmony, and sequencing your investments for the maximum impact on your home’s performance and its official SAP score. It’s about making every pound work as hard as possible towards compliance and comfort.
This guide moves beyond generic advice to provide a clear, sequenced strategy. We will break down how to prioritise spending, from the foundational wins in the loft to the critical details of wall junctions and regulatory compliance, ensuring your investment delivers a comfortable, efficient, and B-rated home without breaking the bank.
Summary: A Practical Roadmap to an EPC B Rating
- Why £400 of Loft Insulation Saves £300 Annually on Heating Bills
- How to Choose Between Internal and External Wall Insulation for Victorian Homes
- Mineral Wool vs PIR vs Natural Fiber: Which Insulation Suits Your Build Type
- The Thermal Bridge at Floor Junctions That Wastes £180 Yearly
- When Adding Insulation Requires Upgrading Ventilation to Avoid Mould Growth
- How to Choose Construction Types That Achieve EPC Rating A for Under £15/m²
- How a £1,800 Thermostat and Controls Upgrade Reduces Tenant Turnover by 30%
- How to Pass Building Control Inspections First Time on UK Self-Build Projects
Why £400 of Loft Insulation Saves £300 Annually on Heating Bills
The first and most critical step in any cost-effective insulation strategy is looking up. An uninsulated or poorly insulated loft is like leaving a window open all winter, with around a quarter of a home’s heat escaping through the roof. For this reason, loft insulation offers the single best return on investment. The process is typically quick, minimally disruptive, and the materials are relatively inexpensive. For many homeowners, this is the ‘low-hanging fruit’ that provides an immediate and noticeable improvement in both comfort and energy expenditure, forming the foundation of your journey to an EPC B rating.
The financial case is compelling. For a typical three-bedroom semi-detached home, professional installation can cost around £900, but DIY costs for materials can be as low as £400. According to figures from the Energy Saving Trust, bringing your loft insulation up to the recommended 270mm depth can result in significant savings. One analysis suggests that for the average UK home, a professional installation can save almost £400 a year on heating bills, meaning the project often pays for itself within just a few years. Even topping up existing insulation from 100mm to 270mm provides substantial savings.
Given its high impact and low cost, loft insulation should be your priority. It provides a significant boost to your property’s SAP score, moving you closer to your EPC target for a fraction of the £6,000 budget. This leaves more funds available for addressing other, more complex thermal weak points in the building fabric. It’s the definitive first step in a successful fabric-first approach.
How to Choose Between Internal and External Wall Insulation for Victorian Homes
Once the loft is addressed, attention must turn to the walls, especially in older properties like Victorian-era homes which typically feature solid wall construction. Unlike modern cavity walls, these cannot be simply injected with insulation. Instead, you must choose between External Wall Insulation (EWI) or Internal Wall Insulation (IWI). This decision is one of the most significant in your retrofit project, with major implications for cost, disruption, and aesthetics. EWI involves fixing insulating boards to the outside of the property and covering them with a render or cladding. IWI involves adding insulation boards to the inside of the external walls.
EWI is generally more thermally effective as it creates a continuous ‘tea cosy’ effect, wrapping the entire building and eliminating more thermal bridges. It causes no internal disruption, and the new external finish can refresh a tired facade. However, it is more expensive, typically costing £145 to £195 per m², and can be problematic in conservation areas or on listed buildings where the external appearance cannot be altered. IWI is often cheaper in terms of materials but involves significant internal disruption, requiring rooms to be cleared, re-plastered, and redecorated. It also results in a slight loss of internal floor space. The choice often comes down to a trade-off between budget, planning constraints, and tolerance for disruption.
Crucially, whichever method is chosen, the quality of the installation is paramount. A shocking 2024 National Audit Office report found that 27% of solid wall insulation jobs had major defects, which can lead to issues with damp and performance. For Victorian properties, which need to ‘breathe’, using the correct materials and detailing is essential to avoid trapping moisture within the historic fabric. This is not a simple DIY task; it requires specialist knowledge to ensure the building system remains healthy.
Case Study: Working Within Conservation Area Rules
Proving that EWI can be viable even in sensitive locations, FMB member Pencil and Brick Ltd successfully navigated conservation area requirements on a project by cladding the external insulation with brick slips. This approach allowed for high thermal performance while maintaining a traditional, heritage-matching finish that satisfied planning authorities.
Mineral Wool vs PIR vs Natural Fiber: Which Insulation Suits Your Build Type
Once you’ve decided between internal and external wall insulation, the next choice is the material itself. The three main categories are mineral wool (like rock or glass wool), rigid foam boards (such as Polyisocyanurate or PIR), and natural fibres (including wood fibre, sheep’s wool, or cork). Each has a different profile in terms of thermal performance, cost, thickness, and, crucially, how it interacts with moisture. This last point—its ‘breathability’ or vapour permeability—is especially important in older, solid-walled homes which were designed to manage moisture differently from modern buildings.
PIR boards offer the best thermal performance for their thickness, making them an excellent choice where space is at a premium, such as in IWI applications where you want to minimise the loss of room area. However, they are not breathable and require careful detailing to manage moisture. Mineral wool offers good thermal and acoustic performance and is non-combustible, making it a safe and versatile option often used in both cavity and solid wall buildups. Natural fibres are highly breathable, allowing moisture to pass through and preventing it from becoming trapped in the wall structure. This makes them an ideal, albeit often more expensive, choice for historic buildings where maintaining the original fabric’s ability to breathe is a priority.
For internal wall insulation, these materials are often integrated into systems. As an official report on solid wall innovation highlights, the costs can vary significantly depending on the approach. These systems provide a practical way to apply the chosen material effectively.
| System | Estimated Material Cost | Notes |
|---|---|---|
| Insulating paint (e.g. Synavax) | £1,200 | Thinnest build-up, lowest thermal gain |
| Insulated plaster system (e.g. Aerotherm) | £2,500 | Mid-range thermal performance |
| Insulated wallpaper/board (e.g. Sempatap) | £3,900 | Higher thermal performance, more disruption |
| Prefabricated EWI (e.g. Mauer UK method) | Variable | No wet trades needed, reducing time on site and bringing costs down approximately 50% |
The Thermal Bridge at Floor Junctions That Wastes £180 Yearly
While large areas like walls and lofts are obvious sources of heat loss, a strategic approach requires focusing on the smaller, often-overlooked thermal weak points. One of the most common and significant is the thermal bridge at the junction between the ground floor and the external wall. This is a classic example of a weak link in a building’s thermal envelope. Even if the walls and floor are insulated, a gap or poorly detailed connection at this point creates a direct path for heat to escape, undermining the performance of the entire system and potentially leading to cold spots and condensation.
This junction is particularly problematic in older homes with suspended timber floors. Cold air from the underfloor void can circulate and come into direct contact with the base of the internal wall, effectively chilling it from the ground up. This can lead to cold feet, uncomfortable draughts, and surprisingly high energy wastage, with some estimates suggesting a poorly insulated floor-wall junction can be responsible for up to 15% of a home’s total heat loss, potentially costing a household an extra £180 per year. Addressing this specific thermal bridge is a high-impact intervention.
The solution involves ensuring a continuous layer of insulation that connects the wall insulation to the floor insulation. For suspended timber floors, this means lifting the floorboards around the perimeter of the room and tightly packing flexible insulation (like mineral wool) between the joists and right up against the wall. This simple, targeted action is a core principle of the fabric-first approach: it’s not just about insulating the big surfaces, but about meticulously sealing the gaps between them to create an airtight and thermally consistent envelope.
As this detailed view shows, ensuring the insulation material is fitted snugly with no gaps is crucial for its performance. This is a task that requires attention to detail but delivers a significant improvement in both comfort and energy efficiency, helping you maximise the value of your insulation budget.
When Adding Insulation Requires Upgrading Ventilation to Avoid Mould Growth
A fundamental principle of modern building science is that insulation and ventilation are two halves of the same whole. As we make our homes more airtight by adding insulation and sealing drafts to stop heat from escaping, we also reduce the natural, uncontrolled air changes that older, leakier houses relied upon. While this is great for energy efficiency, it can lead to a dangerous buildup of indoor air pollutants and, most commonly, moisture. Without a managed escape route, moisture from cooking, showering, and even breathing can condense on cold surfaces, leading to damp, mildew, and harmful black mould growth.
This is not a minor side effect; it is a serious health and building-fabric risk. Adding significant insulation without considering ventilation can turn a home into a sealed, damp box. This is why Building Regulations now often require ventilation systems to be upgraded whenever energy efficiency work is carried out. The goal is to replace chaotic, draughty air leakage with controlled, mechanical ventilation that recovers heat while maintaining healthy indoor air quality. This is the essence of treating the house as a complete ‘building system’.
As the planning guidance from Bath & North East Somerset Council makes clear, this is a critical consideration for any retrofit project, especially for internal wall insulation.
Internally, this process relies on adequate ventilation, otherwise insulation is likely to cause harm to internal fabric due to the increase in levels of damp and interstitial condensation between the existing internal wall surface and the internal surface of the wall insulation.
– Bath & North East Somerset Council, Sustainable Construction and Retrofitting Supplementary Planning Document
Solutions can range from simple background vents and powerful extractor fans in kitchens and bathrooms to more advanced systems like Mechanical Ventilation with Heat Recovery (MVHR) or Positive Input Ventilation (PIV) units, which are often installed in lofts. Budgeting for ventilation is not an optional extra; it is an essential part of a successful and safe insulation project.
How to Choose Construction Types That Achieve EPC Rating A for Under £15/m²
Achieving a top-tier EPC rating is a game of points. The final rating is determined by a Standard Assessment Procedure (SAP) score, where points are awarded for energy-saving features. To strategically use a limited budget, the goal is to “buy” the most SAP points for the lowest cost. While the title’s target of an ‘A’ rating is ambitious, the principle of prioritising high-impact measures is the key to moving from a D or C to a B. Some upgrades deliver far more points per pound spent than others.
Analysis of SAP point gains consistently shows that fabric-first measures provide the best value. As a study cited by GreenMatch UK found, with around 20% of UK properties having insufficient loft insulation, this remains the single biggest opportunity. Insulating a loft from nothing to 270mm can improve a rating by 10-15 SAP points. Cavity wall insulation can add another 5-10 points. These two measures alone can often be enough to lift a property by an entire EPC band for a relatively low outlay.
In contrast, while upgrading an old boiler to a new condensing model can yield 5-20 points, the cost is significantly higher than basic insulation. The most strategic approach is to exhaust all cost-effective fabric improvements first. This maximises the thermal efficiency of the building’s envelope, which in turn reduces the load on the heating system. Only then should you consider upgrading the boiler or adding renewables. Focusing your £6,000 budget on the measures that deliver the highest SAP point return is the most direct path to an EPC B rating.
| Measure | Typical SAP Points Gained |
|---|---|
| Loft insulation top-up to 270mm | Going from no insulation to 270mm can improve the rating by 10 or 15 points, whilst even a top up on existing insulation can get 2-5 points |
| Cavity wall insulation | Insulating a cavity can improve the rating by 5-10 points on average |
| Boiler upgrade | Upgrading to a new condensing model will improve your rating by 5-20 points depending on the age of the current system |
How a £1,800 Thermostat and Controls Upgrade Reduces Tenant Turnover by 30%
A building’s energy performance isn’t just about how well it retains heat; it’s also about how intelligently that heat is controlled. An efficient, well-insulated home can still waste a significant amount of energy if the heating system runs inefficiently, heating empty rooms or maintaining high temperatures when nobody is home. This is why heating controls are a specific and important part of an EPC assessment. A system with a programmer, a room thermostat, and Thermostatic Radiator Valves (TRVs) on every radiator will score much higher than a basic on/off system.
Upgrading heating controls is another high-impact, relatively low-cost intervention. Installing a full set of TRVs, a modern programmable thermostat, and potentially smart, zoned controls allows users to precisely manage when and where heat is delivered. This prevents energy waste and dramatically improves occupant comfort. While the headline claim of a 30% reduction in tenant turnover is illustrative, the logic is sound: comfortable tenants in homes with low running costs are happier and more likely to stay long-term. For landlords, this translates to reduced void periods and a more attractive, compliant property.
The investment is modest compared to major fabric work. A full upgrade to a smart, zoned system might cost around £1,800, but the impact on both the EPC score and the property’s desirability is substantial. EPC assessment guidance confirms that systems with comprehensive controls, which prevent energy waste in unused rooms, are rewarded with a better rating. This makes a controls upgrade a key part of the ‘building system’ approach, ensuring the heat you’ve worked so hard to keep inside is used as smartly and efficiently as possible.
Key Takeaways
- Prioritise a ‘fabric-first’ approach, starting with high-ROI loft insulation before tackling more expensive wall or floor projects.
- Treat insulation and ventilation as an interconnected system; upgrading one often necessitates upgrading the other to prevent damp and mould.
- Make investment decisions based on which measures deliver the most SAP points for your budget to most effectively improve your EPC rating.
How to Pass Building Control Inspections First Time on UK Self-Build Projects
Undertaking significant insulation work isn’t just a practical project; it’s a structural alteration that falls under UK Building Regulations. Failing to comply can result in fines, difficulties when selling the property, and even being forced to undo the work at your own expense. Ensuring every stage of your retrofit project is compliant and signed off by your local authority’s Building Control department is the final, crucial step in your journey to an EPC B. This is not red tape; it’s a vital quality assurance process that confirms the work is safe, effective, and meets national standards.
For most insulation work, you will need to either submit a Full Plans application before you start or a Building Notice at least 48 hours before work commences. A Building Control officer will then inspect the work at key stages to ensure it complies with regulations regarding thermal performance, fire safety, and ventilation. As the Federation of Master Builders (FMB) notes, planning constraints and regulatory permissions can have a knock-on effect on project costs and timelines, so early engagement is key. Assuming you don’t need permission is a costly mistake.
Passing inspections the first time requires diligence and good record-keeping. It means using certified materials, following manufacturer instructions, and ensuring your chosen installer is competent and understands the regulations. Keeping neighbours informed and checking with your insurance provider are also essential parts of a professionally managed project. Getting this right ensures your investment is not only effective but also officially recognised and legally sound.
Action plan: Building Control Compliance Checklist for Insulation Projects
- Check with your local planning authority: Never assume planning permission is not needed, especially in a conservation area or on a listed building.
- Submit a Building Notice or Full Plans: Inform Building Control of the intended work before you begin, in line with regulatory requirements.
- Ensure regulatory compliance: Confirm that your plans and materials meet all relevant Building Regulations, particularly concerning thermal values, ventilation, and fire safety.
- Inform your insurance provider: Notify your home insurer about the planned structural alterations, as it may affect your policy.
- Communicate with neighbours: Inform affected neighbours about the planned work to manage expectations regarding potential disruption.
By following this strategic, fabric-first approach, you can successfully navigate the path to an EPC B rating. The key is to focus your £6,000 budget on the sequential, high-impact measures that deliver the greatest return, ensuring your home becomes a compliant, comfortable, and truly energy-efficient building system.